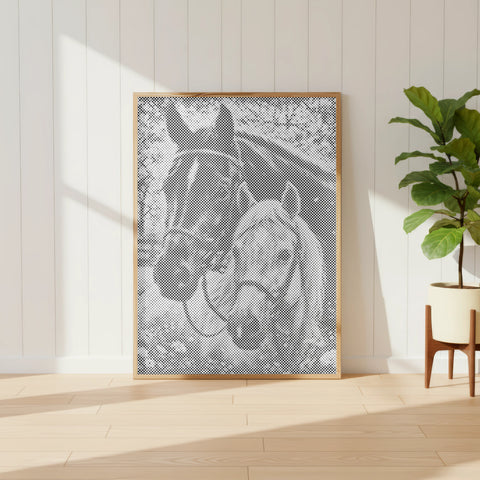
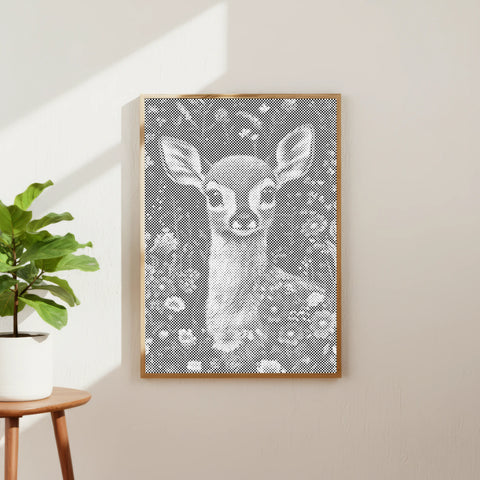
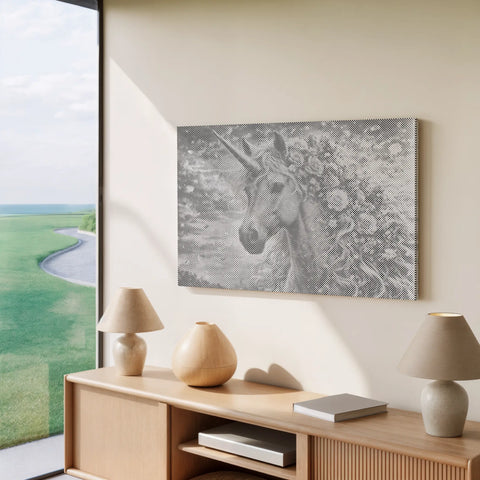
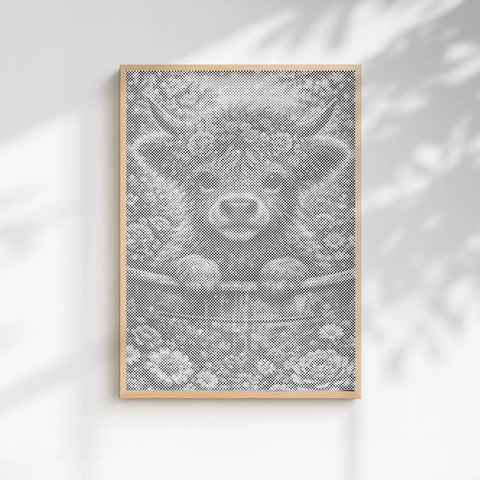
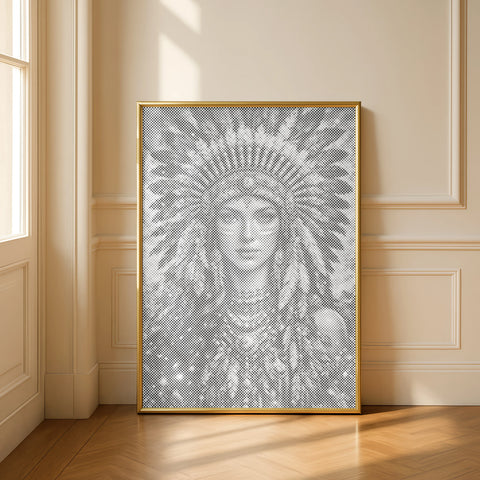
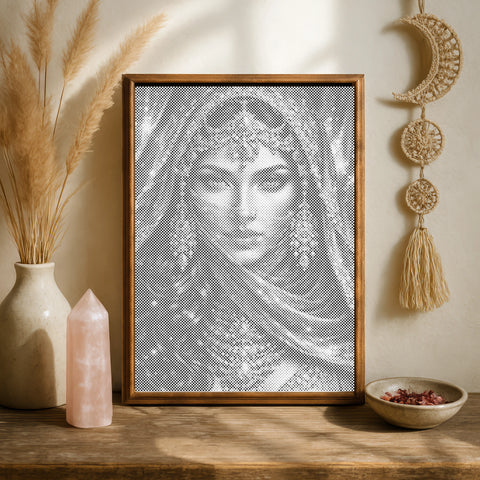
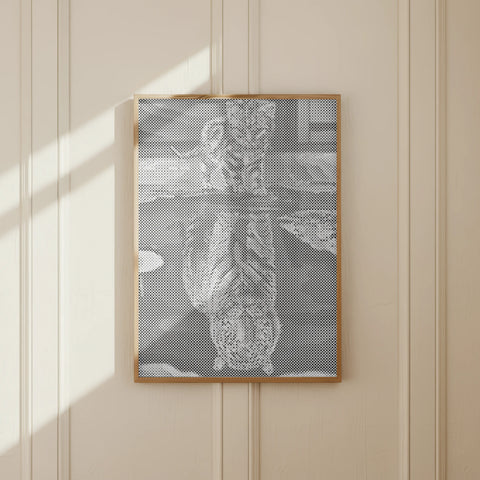
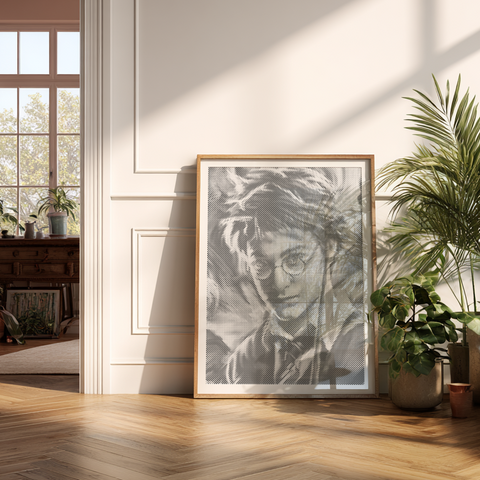
European dot painting kits
Welcome to your Paint By Dots kit
Everything you need to begin, one dot at a time.
Your canvas is ready. Your preview is your guide. Take a quiet moment, choose a comfortable place, and begin slowly. There are no wrong dots here.
Start here
Four calm steps to begin
Move through four calm steps — each one appears inside the dot. Take it one dot at a time.
What is in your kit
Everything arrives ready to use
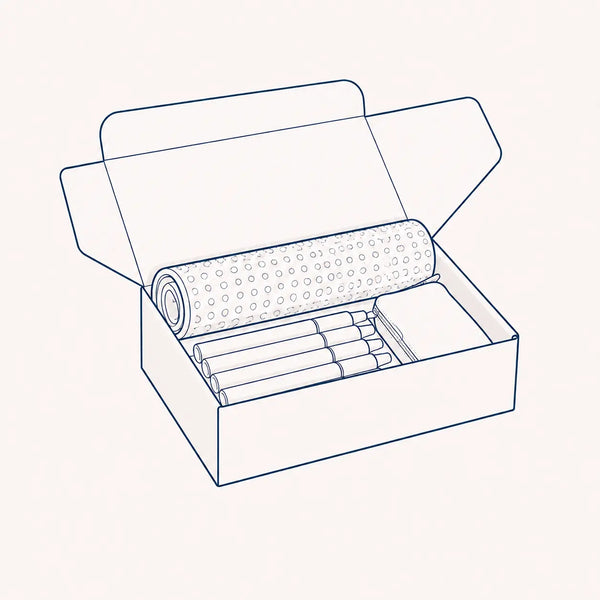
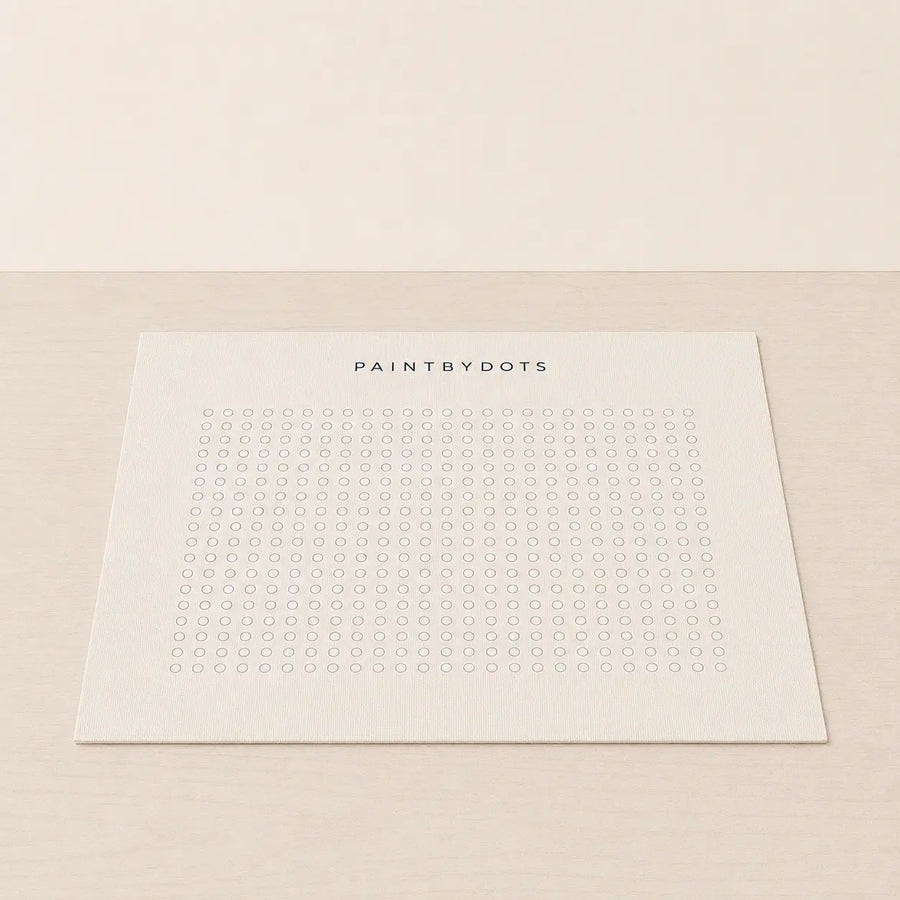
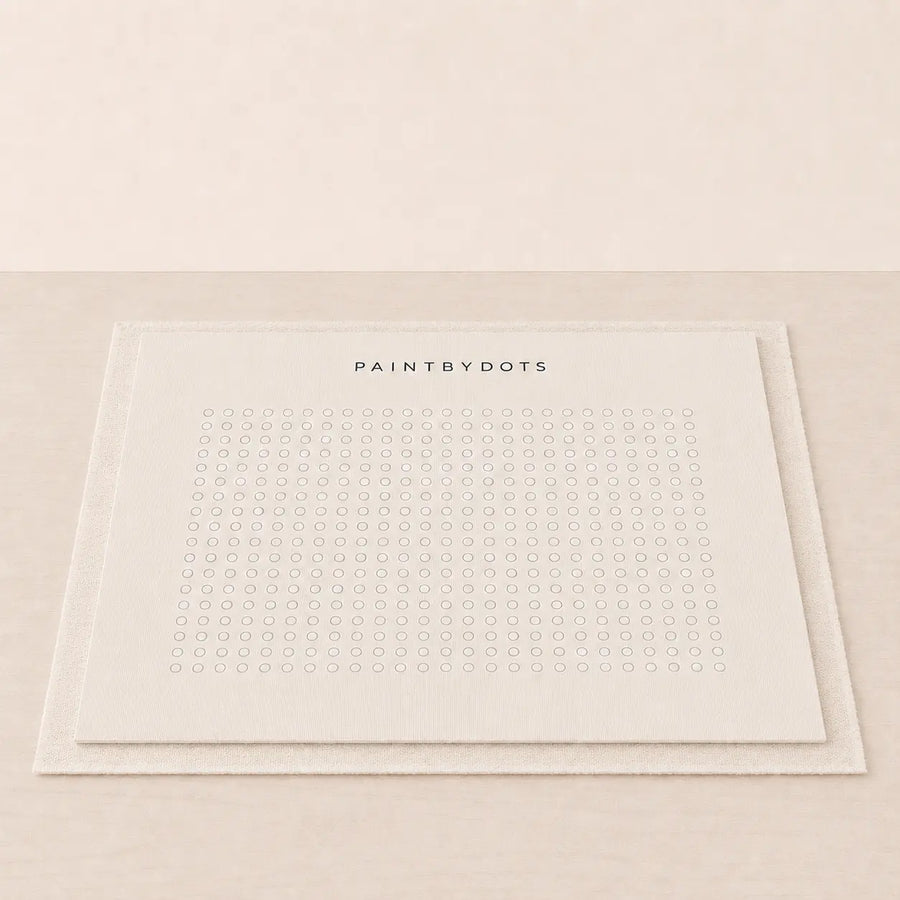
Canvas with printed circles
A pre-printed canvas covered in faint, clear circles — your complete map for every dot.
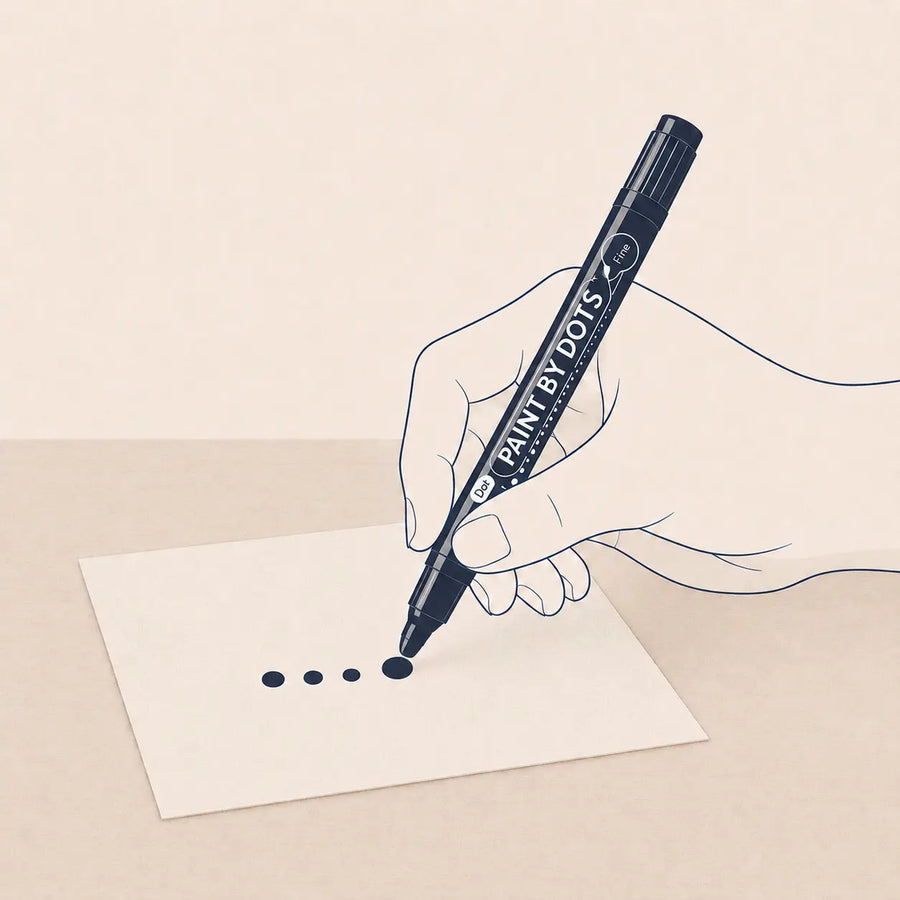
Dot pen
Your dot pen in the colour you selected. Classic Black, Deep Blue or Soft Gold.
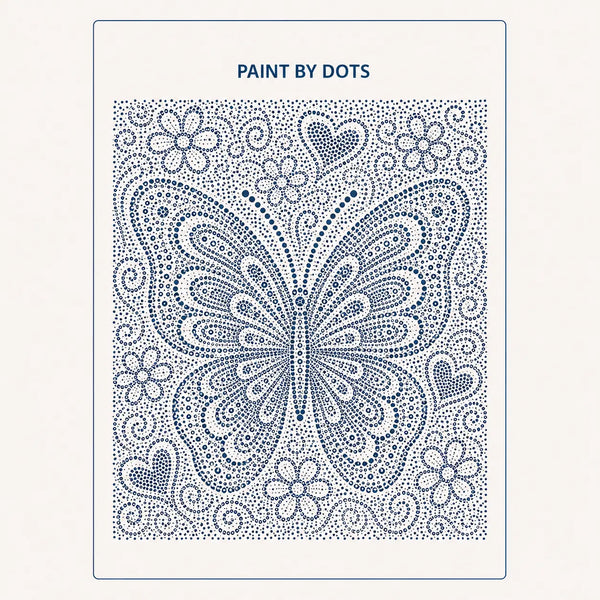
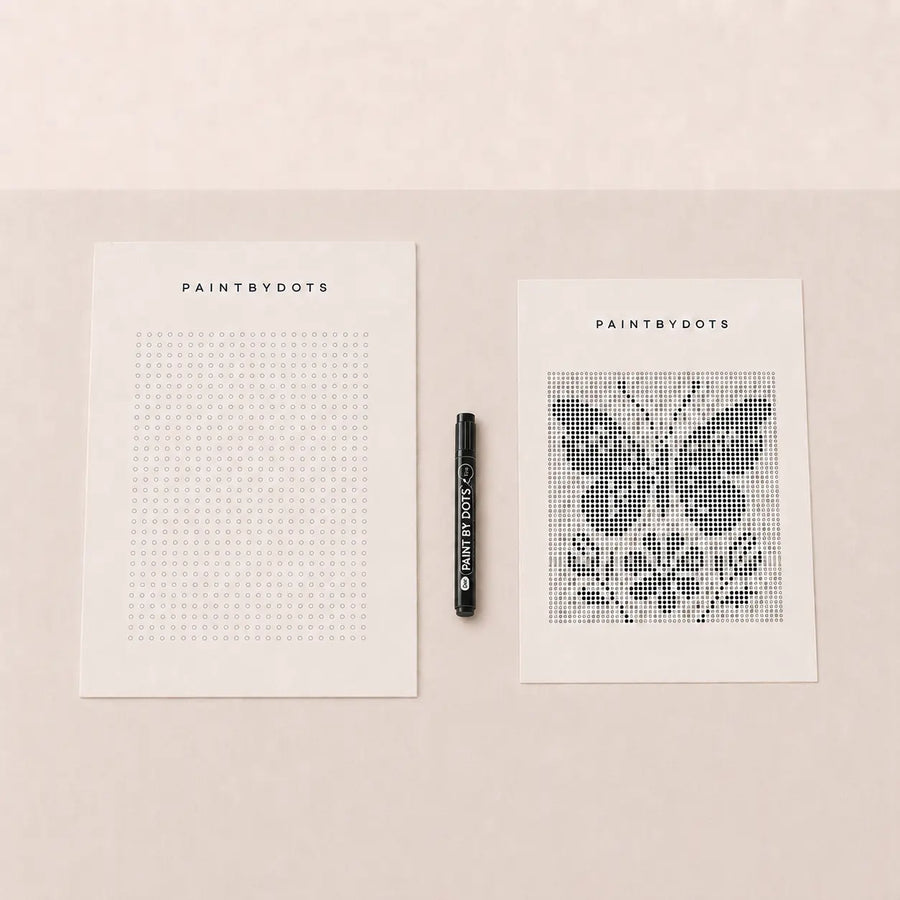
Printed preview guide
A printed preview of what your artwork could look like. Keep it beside you as your reference.
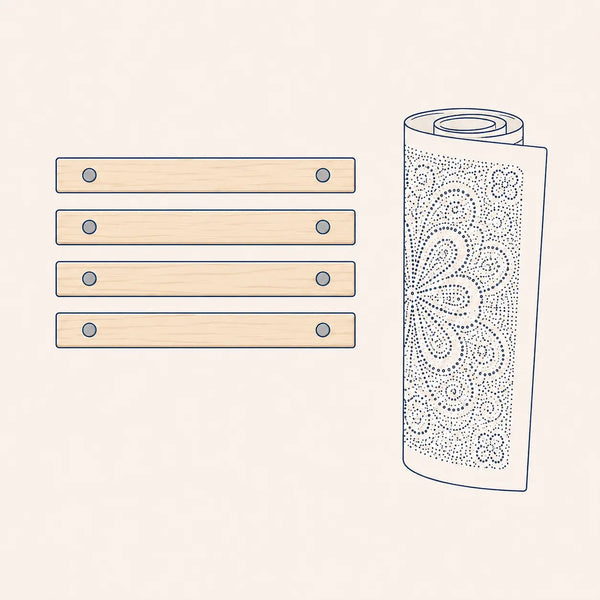
Optional frame kit
If you selected one, your frame or your DIY frame kit is included, ready for when the ink is dry.
Before you start
Set up a calm, comfortable space
Before you begin, place your canvas on a flat surface with good light. Keep your preview beside you. This will help you see how the image slowly appears as you work through the dots.
-
1
Flatten your canvas
Lay it on a clean, flat surface and let it settle so it sits completely flat.
-
2
Protect your table
Place paper or a cloth underneath to keep your surface clean while you work.
-
3
Test your pen
Try a few dots on spare paper or a corner so you know how the ink flows.
-
4
Keep your preview nearby
Set the printed preview within easy view to guide each area as you go.
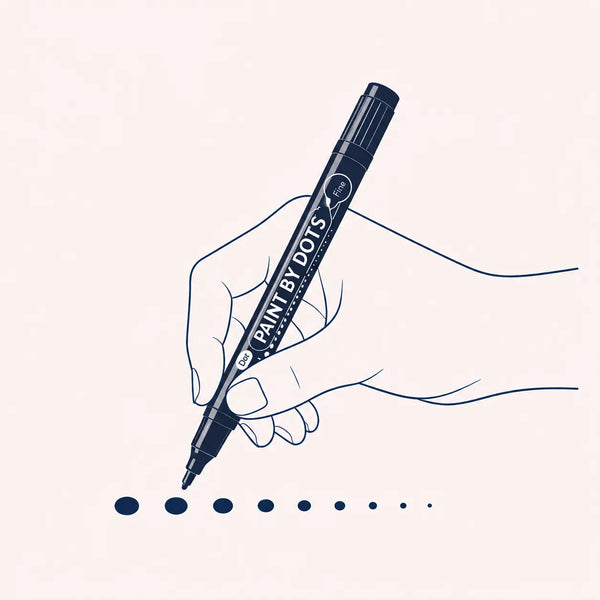
How to dot
Four calm steps
-
1
Choose an area to begin
Start wherever feels comfortable. Many people begin in the centre and work outward.
-
2
Use the correct pen tip
Use the thicker tip for larger circles and the finer tip for smaller circles.
-
3
Dot gently
Press lightly and fill each circle with a calm, steady motion.
-
4
Let the image appear slowly
At first, the picture may look abstract. Keep going. The motif becomes clearer as more dots are filled.
Best technique
Work away from fresh dots
The ink dries quickly, but it is still best to avoid resting your hand on fresh dots. Work in a direction that keeps your hand away from the area you have just completed.
Right-handed
Work from left to right, so your hand always moves onto unfilled circles.
Left-handed
Work from right to left for the same reason — keep moving toward empty circles.
You can also work from the centre outward if that feels more natural.
A few gentle notes
What to avoid
A few calm reminders to keep your artwork at its best — nothing to worry about.
- Avoid pressing too hard
- Avoid rubbing fresh dots
- Avoid using the fine tip for large circles
- Do not worry about small imperfections
- Let the ink dry before framing or rolling
- Take your time
Mistakes are normal
There is no such thing as a perfect dot
A slightly uneven dot will not ruin your artwork. The beauty of dot painting comes from the full image, not one single mark. Keep going and trust the process.
When you are finished
Let it dry, then display it
When your artwork is complete, let it dry fully before framing or hanging. Natural daylight is best for photographing your finished piece.
- 1
Let the canvas dry fully
Give the ink time to set completely before you touch or move the surface.
- 2
Frame or hang it
Mount it as wall art — it is designed to be displayed and enjoyed.
- 3
Photograph in natural light
Soft daylight shows your piece at its best — perfect for sharing.
When this one is on the wall
Watch the dots become your next one
No rush. When you are ready, the same dots settle into another quiet afternoon.

Need help?
Need a little help?
If something does not look right, send us a photo of your canvas, your preview and your order number. We will help you.
Which pen tip should I use?
Use the thicker tip for the larger printed circles and the finer tip for the smaller ones. Matching the tip to the circle keeps every dot clean and even.
What if I make a dot too big?
Do not worry. A single slightly larger dot disappears into the full image. Carry on with the surrounding circles and it will blend in naturally.
Why does the image not look clear yet?
Early on, the dots read as an abstract pattern. The motif resolves as more circles are filled — step back from time to time and you will see it appear.
Can children use the kit?
Yes, with calm supervision. The pens are best handled with a little patience, so younger makers may enjoy filling larger areas alongside an adult.
How long should I let it dry?
Allow the finished canvas to dry fully before framing, rolling or hanging. A little extra time ensures the ink is completely set.
How do I enter the monthly giveaway?
Share any part of your Paint By Dots experience on Instagram, tag @paintbydots.co and use #PaintByDots. This can be your kit arriving, your setup, your progress, your finished artwork or your piece displayed at home. Each month, one shared customer post is chosen to receive a Paint By Dots kit of their choice.